Lately, I was playing with pfSense trying to access my internal resources from outside (mostly my Plex server) so I made this tutorial on how to access my home network. I’ve used the official howto from pfSense, but it’s a little bit outdated and it doesn’t cover Linux/FreeBSD non-GUI, so there are some changes that I’ve made. I’ll be using IPsec IKEv2 AES256/SHA256/MSChapV2/DH14 on the pfSense side (strongSwan IPsec implementation) and the clients will use various VPN clients.
There are a lot of different versions of VPN IPsec implementation, so even the slightest updates can make the VPN fail. I’ll write the version of the server/client for each configuration, so you’ll know that it works. If you are using different versions of the OS or the client, it might not work. I will use only one pfSense config for all mobile clients. Unfortunately, pfSense does not support multiple mobile clients configs as of 2.4.2.
How this works? Each client will receive a certificate and a username and a password. The certificate is the same for all clients, but the username/password is not.
pfSense 2.4.2
In order for the VPN config to work we’ll need a Certificate Authority (CA) and a server certificate. If you have them already, then you can skip the following three parts, if not, I’ll show you how to create them.
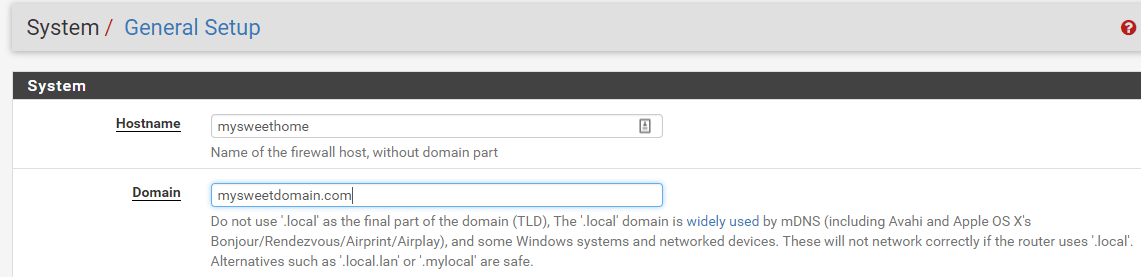
pfSense FQDN
Check your FQDN first under System | General Setup. This is what I have as FQDN and I’ll use this FQDN later in my certificate and in my client’s config.
pfSense CA (Certificate Authority)
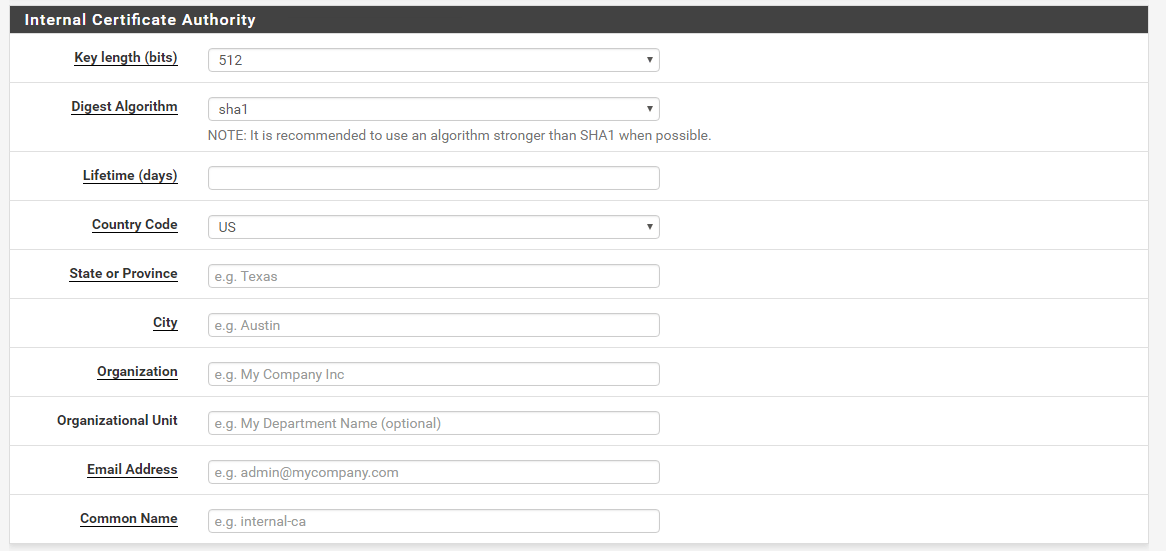
From the pfSense menu go to System | Cert. Manager. Click on Add and then you can choose to Import an existing Certificate Authority or Create an internal Certificate Authority. In my home lab I already have an existing CA (see this link on how to create your own CA), but for this post, I’ll create a new CA. Enter a Descriptive Name for the CA and choose to Create an internal Certificate Authority.

Under the Internal Certificate Authority section , fill out the values that suit your home/lab/company. In my case, I used 2048 for Key length (bits) and sha256 for Digest Algorithm. Enter the Lifetime of the CA, I used 3650 days which is 10 years and fill out the rest of the form. Make sure to use your FQDN for the Common Name. For example, my pfSense box has an external IP assigned to the WAN interface which is 1.2.3.4. Also, somewhere in my DNS, I resolve this IP to mysweethome.mysweetdomain.com. You have to put mysweethome.mysweetdomain.com for Common Name.
This is just a sample. The original post is here.